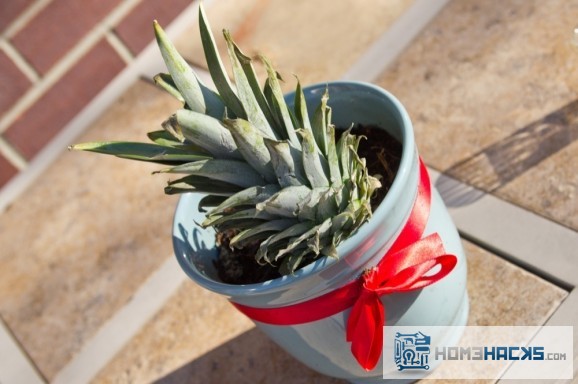
If your a fan of exotic and tropical-looking bromeliad plants, you might already know that pineapple is just another bromeliad. Granted, it’s a delicious bromeliad though. Taking the leafy crown off a store-bought pineapple is all you really need to grow your own. Just make sure to remove any fruit that might still be attached to the crown (it can cause rotting). Plant it in rich, well-drained soil and water regularly, tapering watering to weekly once the plant is established. Be patient, your first harvest is likely a couple years off.
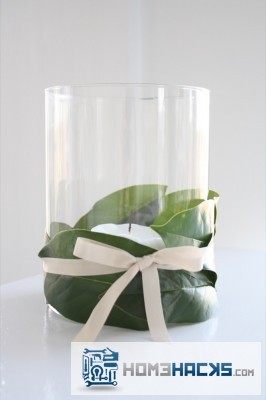
Simple DIY Holiday Decor Centerpiece
Finally, a simple DIY holiday decor project to create a beautiful centerpiece using just a pillar candle, magnolia leaves, ribbon and a glass vase. More details and tips via the link.
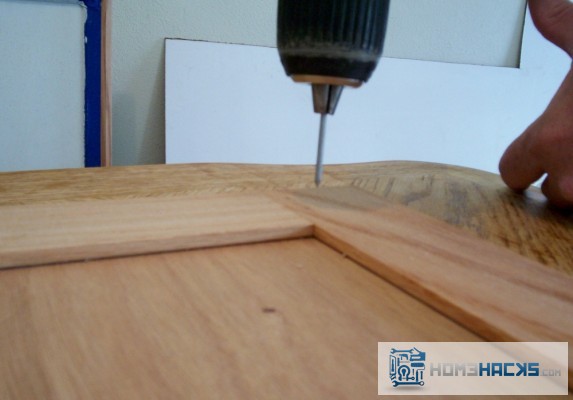
Replace Tiny and Fragile Drill Bits With a Tough Finish Nail
Do you need to pre-drill to drive finish nails into your delicate wood project but keep breaking tiny and expensive drill bits? Use a finish nail instead for a quick and cheap pre-drilling bit that rarely ever breaks.
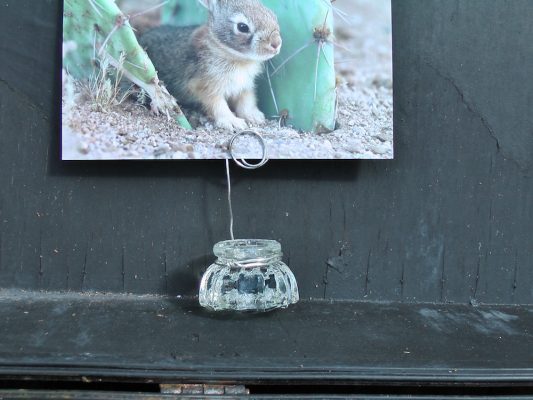
DIY Doorknob Photo Holder
This is a simple shabby chic hack for displaying photographs and/or postcards. In order to make this doorknob photo holder find an old or antique doorknob. One that has outlived its intended purpose. Turn the knob upside down and wrap a 16-18 gauge wire around the circular base tucking and wrapping the loose end a couple times to secure, and to prevent any jagged edge from sticking out. once you have wrapped the wire around the base a couple of times, bend the wire up leaving a couple of inches of straight wire, then bend into a concentric circle which will allow you to clip your photograph or postcard.
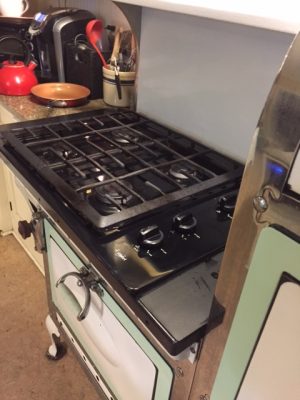
How to Retrofit an Antique Stove
This is a great hack submitted by Margee Moore over at moxiemom.com. Follow the link below to learn how she retrofitted her 1920’s American made stove. In her post, “How to Retrofit an Antique Stove” Moxie explains how she feared she’d have to get rid of this beautiful piece because it was a safety hazard. That is until she did some investigating and found the answer she was looking for. Thanks Margee for submitting this great hack!
Make a Heart Shaped Egg
In this video we learn just how easy it is to make a heart shaped egg. All you need is a hard boiled egg, small rectangular piece of cardboard (as shown) folded in half, a chopstick and two elastic bands. Follow Make Sushi’s simple instructions and you will have your loved one eating out of your hands.


Recent Comments