
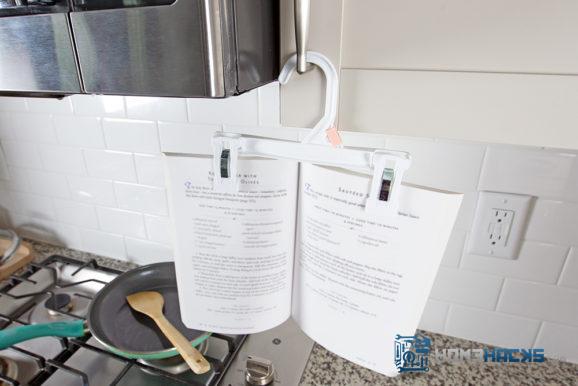
If you are running out of counter space or are having a tough time keeping your cookbook open to your recipe, consider this DIY cookbook holder using a plastic hanger meant for pants or skirts. Suspend the cookbook from an upper cabinet door knob using the plastic pant or skirt hanger and you’ll not only make your recipe more accessible but you will save valuable counter space.
Deodorize Your Fridge With Coffee Grinds
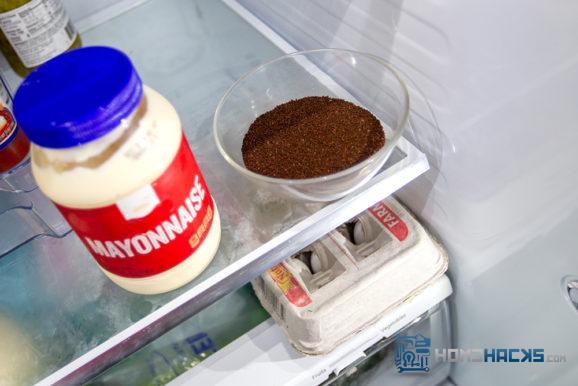
Coffee grinds have the power to absorb unpleasant smells. Next time your fridge smells less than fresh, place used or new coffee dry grounds on the top shelf of your refrigerator to absorb those unpleasant odors.
Start Seeds in a Used Tea Bag
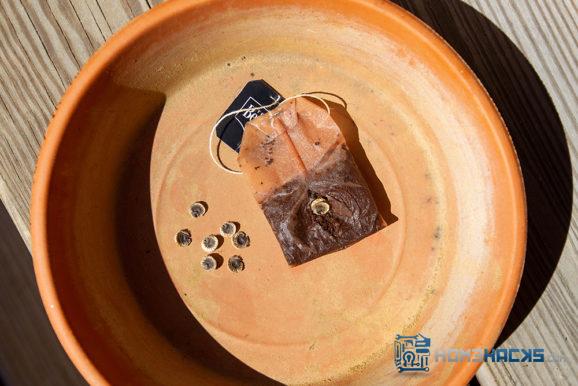
Get a head start on your spring garden by using this DIY seed starter hack. Make good use of your used tea bags by cutting a small slit in the bag and placing a few seeds among the damp tea leaves. Keep the tea bag moistened by misting occassionally until your seeds sprout and are ready for transplant.
Sweeten Gifts With Candy Bows
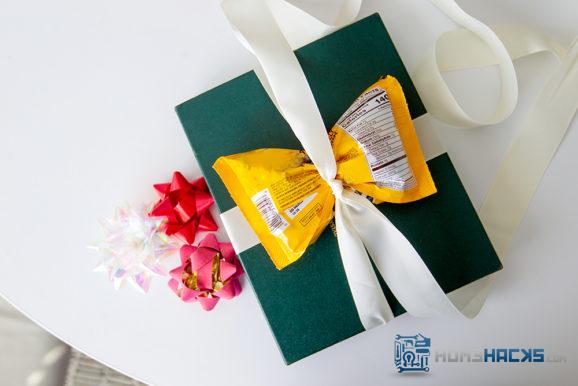
Why buy bows when you can make them from something more interesting? Next time you have a present to give consider making it extra sweet with a handmade bow made from a bag of candy. Simply pinch the candy bag in the middle using a rubber band or ribbon to create the bow. Then use another ribbon to attach to the present.
DIY Weatherproofing Outdoor Plugs
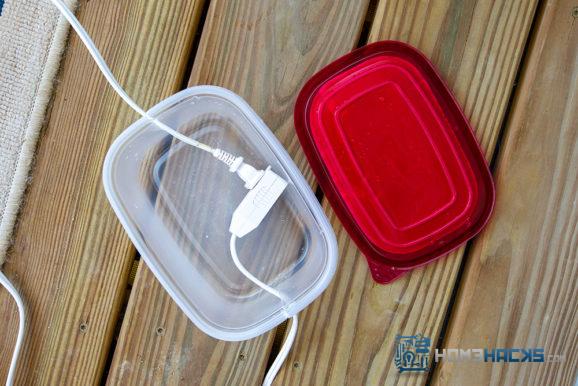
If you are worried about outdoor plugs being exposed to the elements, try this simple hack using a recycled food storage container. Cut two slits on either side of the plastic container and slide the cords into the slits. Now place your lid and you’ve got DIY weatherproofing for your outdoor cords.
Kiwi Prep Made Easy
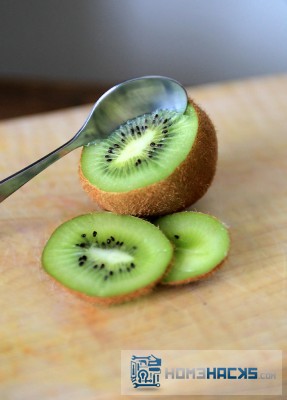
Cut off the top and bottom of kiwi and then carve it out with a small spoon for easy kiwi prep.
Recent Comments